make it simple..

2016@abutech. Powered by Blogger.

Pages

Wednesday 2 November 2016

contolling LED bulb using raspberry pi 3


First experiment using led:

Hardware Requirements

             LED bulb
             1k ohm resistor
             2x female to male jumper wire
             breadboard
    anode(big leg) of the LED is connected  through resistor 
    in gpio pin 17 and cathode(small leg) of the led is connected 
    to ground(GND) of the gpio pin

    python program for control the led: 

     python has new gpiozero library to control the gpio pins according to the speific python programming paradigm. The following python program can be control the led bulb.                                                                                                                        
    from gpiozero import LED
    from time import sleep
    led=LED(17)
    while 1:
         led.on()
         sleep(1)
         led.off()
         sleep()


    in the above program LED module is imported from gpiozero library then sleep module is imported from time library for the purpose of led blink. led=LED(17) this specifies the led bulb connected to the gpio 17,  while 1: this line tells the condition is always true and running the program until the user terminate it.
       led.on() in this line on() function send the output signal to the          gpio 17 pin as on and then sleep(1) this fucntion tells wait for            one second and then off() fucntion send the output signal to the        gpio 17 pin as off, So that the led is blinking.

Tuesday 1 November 2016

Introduction to GPIO in raspberry pi 3


GPIO pins:

GPIO stands for general purpose input output pin, there are 40 pins available in 
the raspberry pi 3 model b. 
which are used to control the external devices such as light,fan,motor 
and any electrical and electronic devices using the solid state relay module 
for the high voltage devices. 
It can be used to read the data from the sensor node such as temporature,
humidity,distance,ph value, moisture content and store to the database server, 
then process these data for the further analysis.

Gpio pins of the raspberry pi 3 is show in the  pic.


mysql server and phpmyadmin installation in raspberry pi 3


INSTALL MYSQL DATABASE:

mysql is a open source database server to store the sructured data 
in the form of rows and columns. Issue the following command to 
install the mysql server and client.

sudo apt-get install mysql-server


set the password for mysql database.

If you want to be able to interact with MYSQL in Python you 

will need to install the Python bindings as well. 

You can do this by entering the following command.


sudo apt-get install python-mysqldbNow installed the phpmyadmin 
to access mysql databases in the user interface .

sudo apt-get install phpmyadmin

select yes to configure phpmyadmim
we will also need to setup Apache to include our phpmyadmin installation.
To do this enter
sudo nano /etc/apache2/apache2.conf
NOw at the bottom of this file enter the following line:
include /etc/phpmyadmin/apache.conf
once done save & exit by pressing CTRL +x and then y
now restart the apache server using following command
sudo service apache2 restart
Now you can be able to access the phpmyadmin from a browser.
http://localhost/phpmyadmin or domainname/phpmyadmin.

web Server installation in raspberry pi 3


Server installation:
Apache is a popular web server application you can install on the Raspberry Pi to allow it to serve web pages.
On its own, Apache can serve HTML files over HTTP, and with additional modules can serve dynamic web pages using scripting languages such as PHP.

INSTALL APACHE WEB SERVER:


First install the apache2 package by typing the following command into the terminal:
sudo apt-get install apache2 -y


then test the webserver using browser,put the following url in address bar

http://localhost or 127.0.0.1 or your ip address. Following page will be displayed
f you see this page, this means apache server is installed succesfully on your raspberry pi 3.
/var/www/html/ is the defualt root directory of the webpages.


INSTALL PHP:

php is the server side scripting language, which is used to create a website dynamically.issue the following command on the terminal to install the php.

sudo apt-get install php5 libapache2-mod-php5 -y


now the php interpreter is installed successfully.
Now You can create a php file named index.php as 
a first dynamic page of your website. 
Copy the following php code and save as index.php 
inside the server directory that means /var/www/html/index.php

<?php 
echo "<center><h2>welcome to the raspberry pi world</h2></center>"; 
?>

then start the apahe2 webserver using the following command

service apache2 start

the open any web browser put the ip address or 
domain name of your raspberry pi.
Your first php page is displayed in the above pic.


DynamicDns and PortForwarding


DynamicDns and PortForwarding:

The ISP provides dynamic public ip address for every customer, dynamic means change the public ip address of our gateway or wifi router. So that we can't access the remote Desktop of the raspberry pi from outsite the local network.

The first way has the problem that a IP address is hard to remember. And, if you reboot your router, the IP address will change and you will have to give the new IP address to your friends, again. Very unpractical. Having a domain is more user friendly, easy to remember and does not change over time. The idea is that the domain in always pointing to your public IP.

To resolve this problem, we should use dynamic dns, there are several sites provides these service called dynamic dns, Let us set Dynamic Dns for our raspberry pi device.


First goto this website http://ip.raspctl.com/ and register here with your email id


in tha above pic. Abutech is the subdomain of the raspctl.com

so that after register, your domain name is yoursite.raspctl.com

in my case my domain name is abutech.raspctl.com

now install raspctl software for raspberry pi. So you put the following commands on the terminal

wget debrepo.krenel.org/raspctl.asc

then

cat raspctl.asc | sudo apt-key add -

then

echo "deb http://debrepo.krenel.org/ raspctl main" | sudo tee /etc/apt/sources.list.d/raspctl.list

and then update your pi usig following commands

sudo apt-get update

then install the software called raspctl-dynamicdns using following commands

sudo apt-get install raspctl-dynamicdns

after all is done.

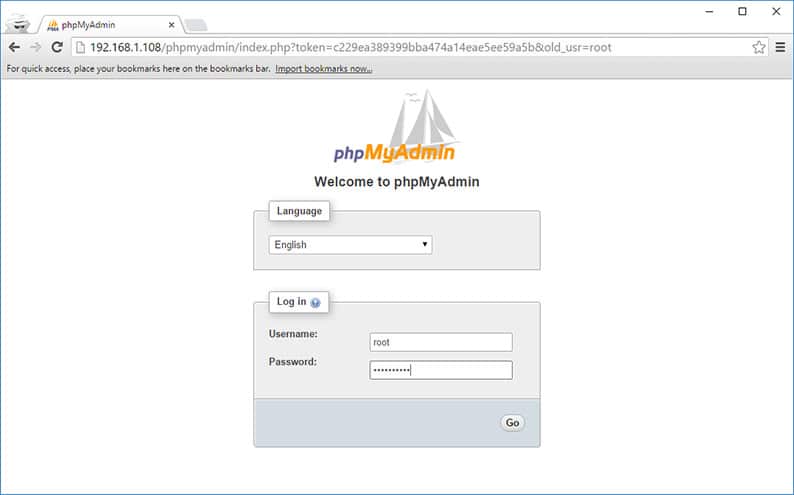
Now you shoud login to your dashboard http://ip.raspctl.com/

you can now see the following pic.

Copy the UUID from dashboard. Then edit the configuration file

using the following command

leafpad /etc/raspctl/dynamic-dns.conf
now paste the uuid to this configuration file.

Then save it and exit. Put the following command to update your public ip to the raspctl.com

sudo raspctl-dynamicdns

Now the dynamic dns is successfully installed on your raspberry pi 3.

portforwarding:

now we should know about port forwarding, your public ip address is nothing but your router ip address, so that any requests are coming to your router only, not for your device. So that we should configure the router for forwarding any requests from the client to your device.

Open the router settings in browser using router's private ip, in my case my router's private ip addess is 192.168.1.1


configure the router using your raspberry pi ip address then save it.
now the portforwarding is successfully configured.


update and upgrade raspberry pi 3


Update and upgrade:

update the repository of the raspberry pi for newly updated software versions by the following command on the terminal

sudo apt-get update

then upgrade the raspbian distribution using the following command into the terminal


sudo apt-get dist-upgrade


Vnc viewer for pc


Download the vnc viewer for windows from the following link


after download the vnc viewer, open it
enter the ip address of raspberry pi with default port 9500 of the vnc server,then click connect.


Now enter the username as pi password as raspberry, then click ok

now you can see the desktop of the raspberry pi.
You can Operate the raspberry pi without external keyboard,monitor and mouse.